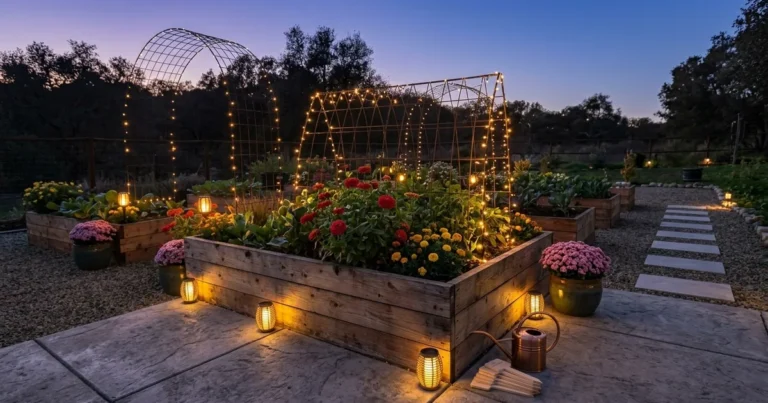

13 How to Build a Raised Garden Bed on Concrete or Patio
You don’t need a garden plot to grow your own vegetables. With a little effort, you can build a raised garden bed on any hard surface. This is a fantastic solution for patios, driveways, and balconies.
We have put together a step-by-step guide on how to build a raised garden bed on concrete. This is a simple weekend project that will allow you to enjoy fresh, homegrown produce no matter where you live.
What’s inside this article
- Plan Your Bed’s Location
- Gather Your Materials
- Build the Frame
- Install a Drainage Layer
- Add High-Quality Soil
- Add Compost and Fertilizer
- Level the Bed and Soil
- Choose Your Plants
- Planting Your Seedlings
- Water Immediately and Deeply
- Add a Trellis for Vertical Growth
- Monitor and Enjoy Your Garden
- Protect from Pests with Netting
Plan Your Bed’s Location
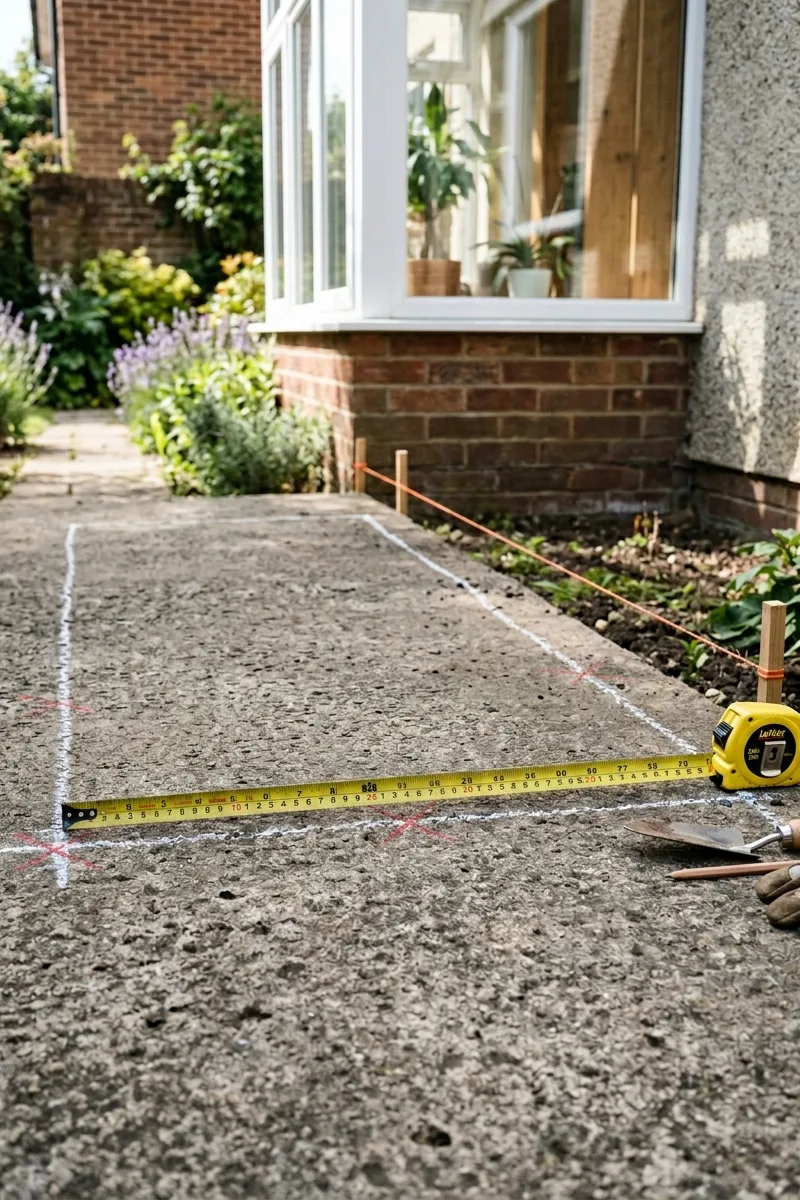
The first step is finding the perfect spot. Your raised bed needs at least 6-8 hours of sunlight per day for most vegetables. Consider the size and shape of your bed. A rectangle 4×4 feet or 4×8 feet is a manageable size. Make sure it fits comfortably on your patio and allows easy access to the plants.
Gather Your Materials
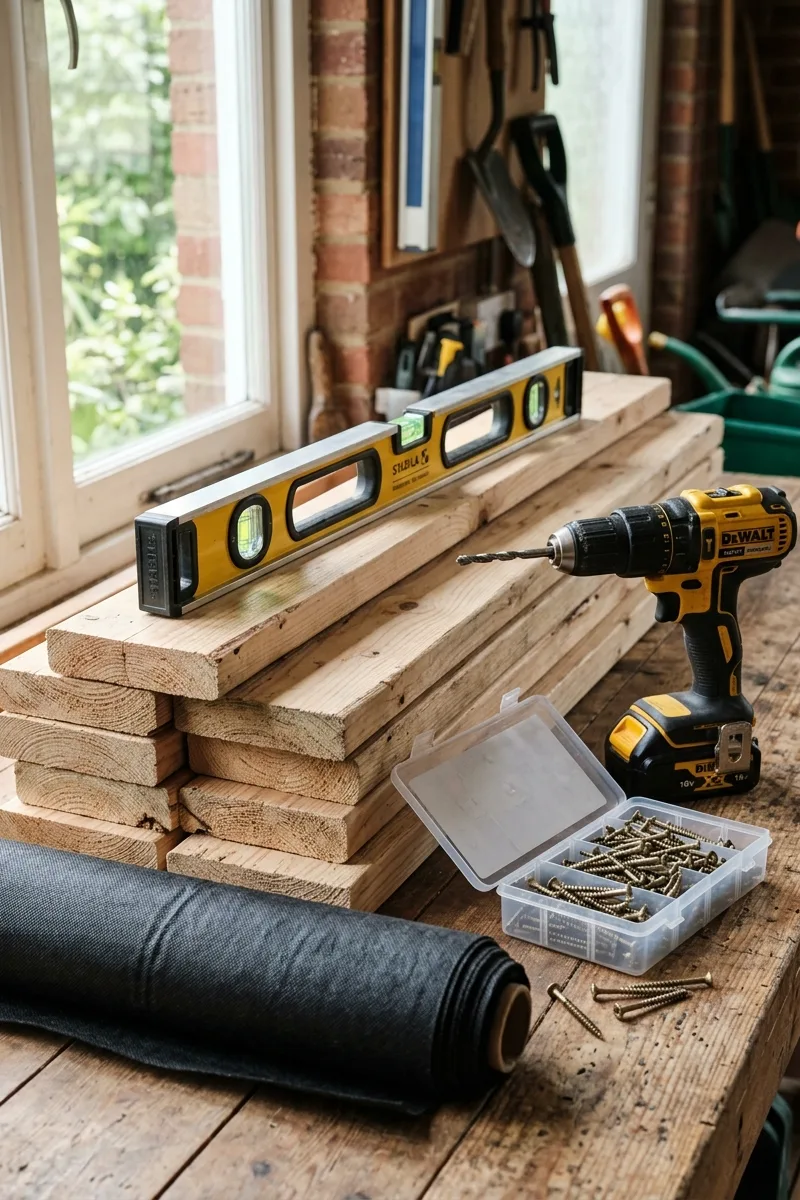
You will need untreated wood planks (cedar or redwood are great choices as they are naturally rot-resistant), 3-inch exterior screws, a drill, landscape fabric, a level, and gravel for drainage. You might also consider a weed barrier to place under the bed. Gather all your tools before you begin to make the process smoother.
Build the Frame
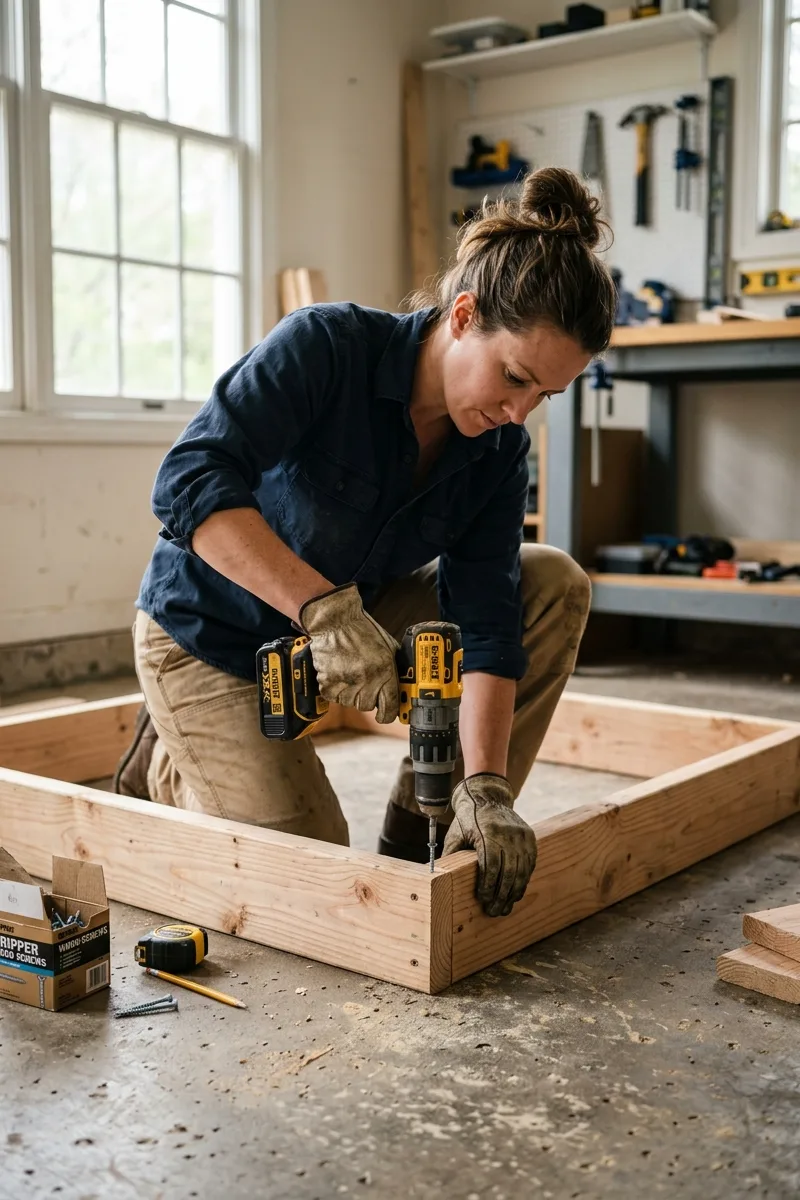
Cut your wood planks to your desired dimensions. To build the frame, screw the sides together at the corners. Pre-drilling the holes will prevent the wood from splitting. A simple rectangular box is the easiest design. Check that the frame is square by measuring the diagonals. If they are equal, the frame is square.
Install a Drainage Layer
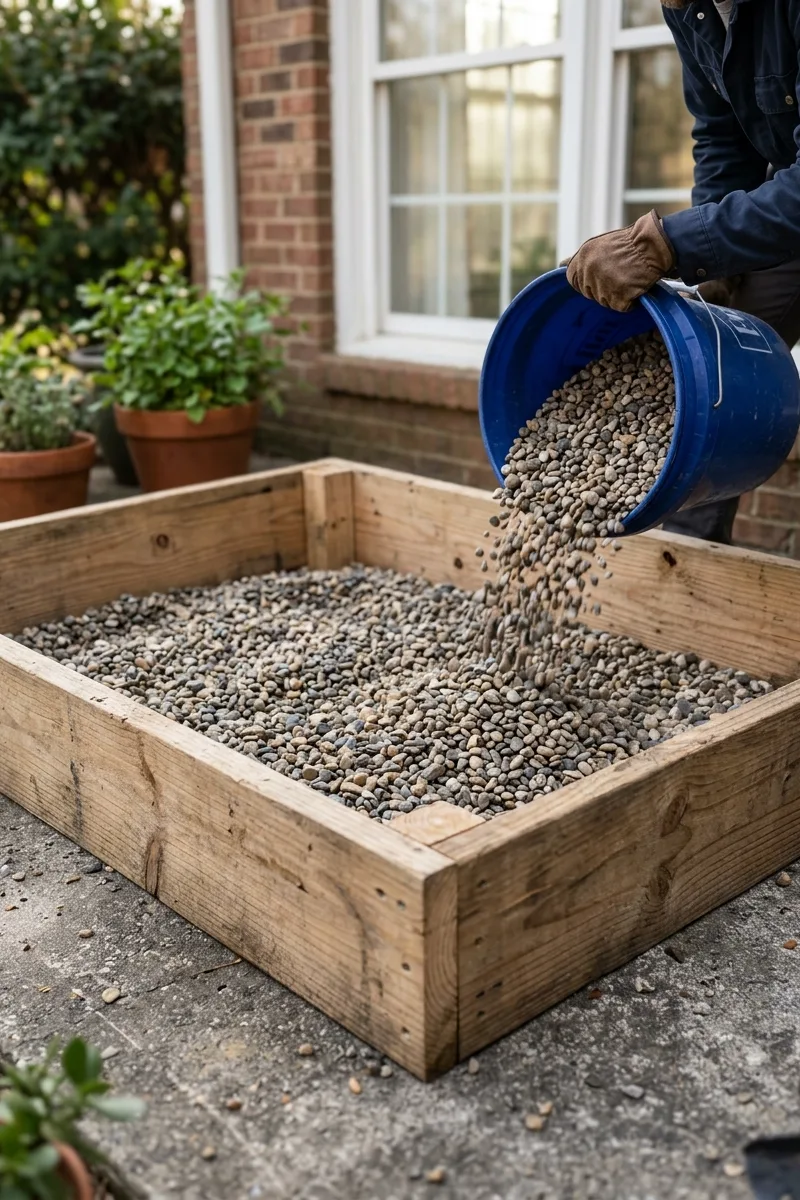
Drainage is critical for a raised bed on concrete. Line the bottom of your frame with landscape fabric to prevent soil from washing away. Then, add a 2-3 inch layer of coarse gravel or small stones. This will prevent waterlogging and ensure your plant roots stay healthy.
Add High-Quality Soil
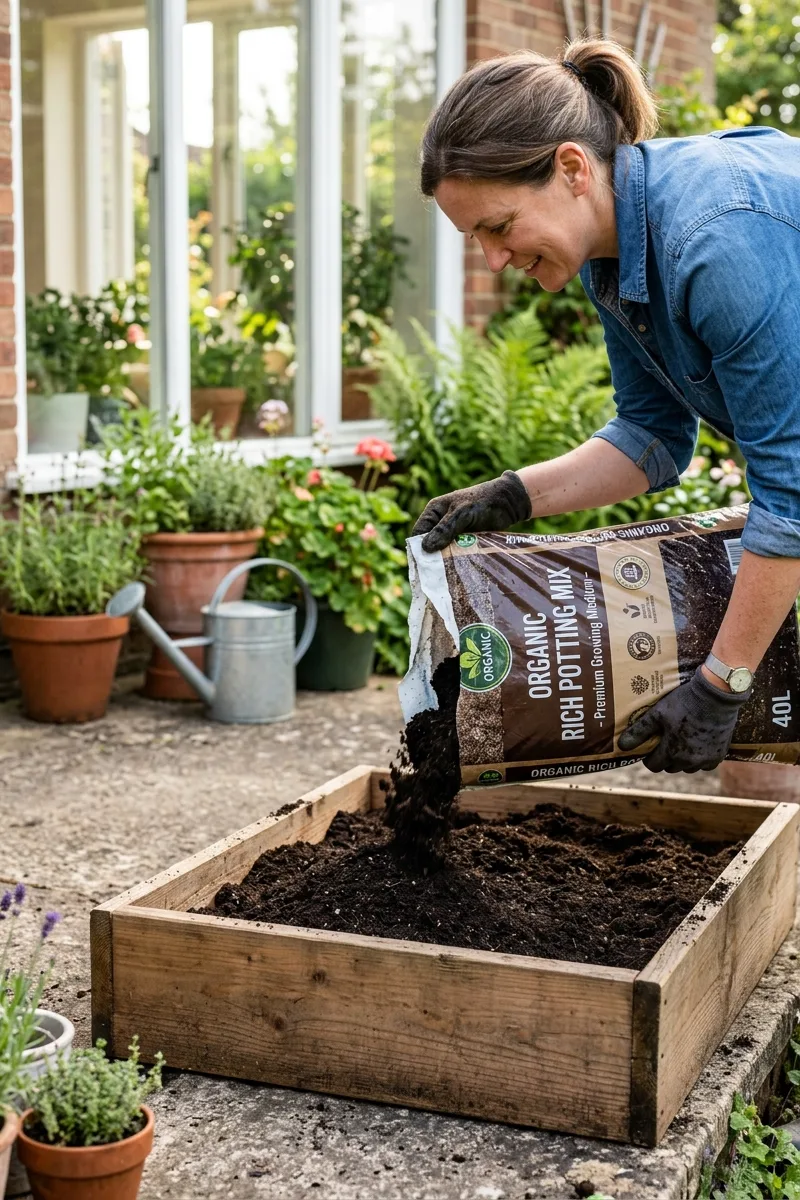
Fill your raised bed with a high-quality potting mix or garden soil. Avoid using cheap topsoil, which can be too heavy and may not drain well. Look for a mix that is specifically designed for raised beds and contains compost for nutrients. Fill the bed to the brim, as the soil will settle over time.
Add Compost and Fertilizer
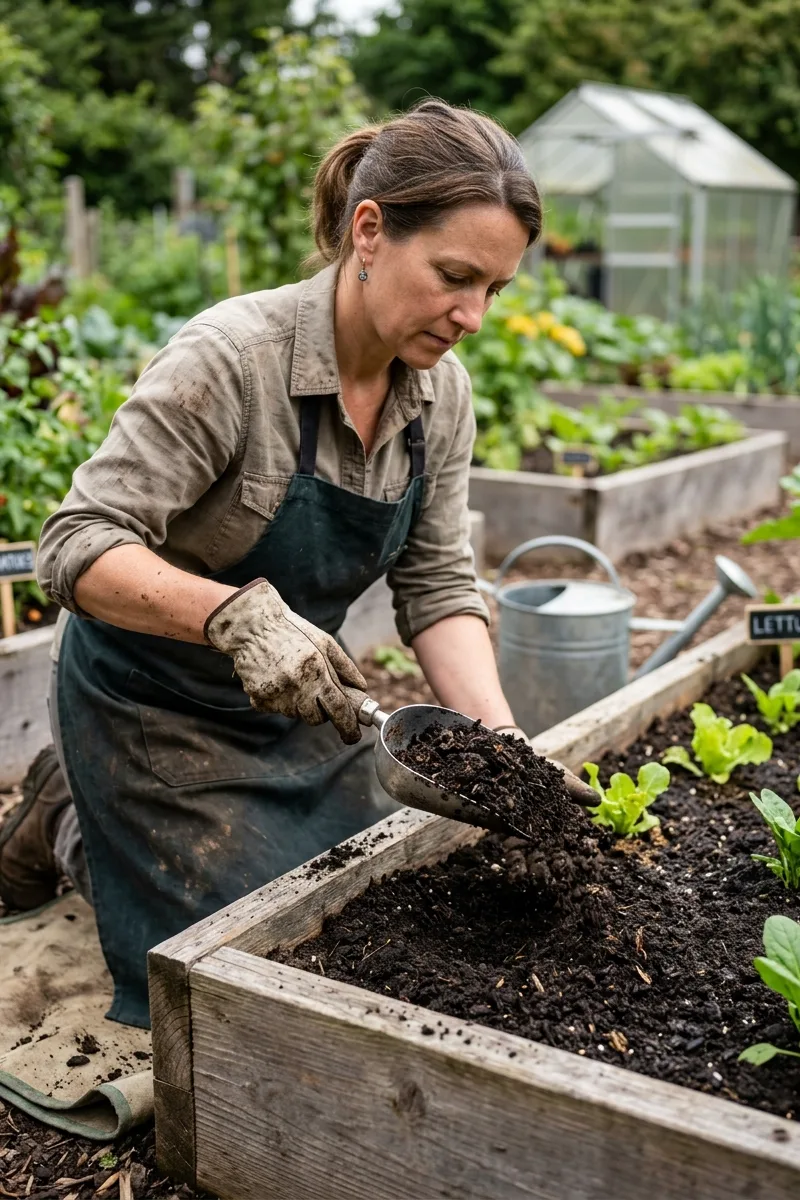
Before planting, mix in a generous amount of well-rotted compost or aged manure. This will provide a slow-release source of nutrients. You can also mix in a balanced organic fertilizer to give your plants the best possible start. These nutrients are essential for healthy growth.
Level the Bed and Soil
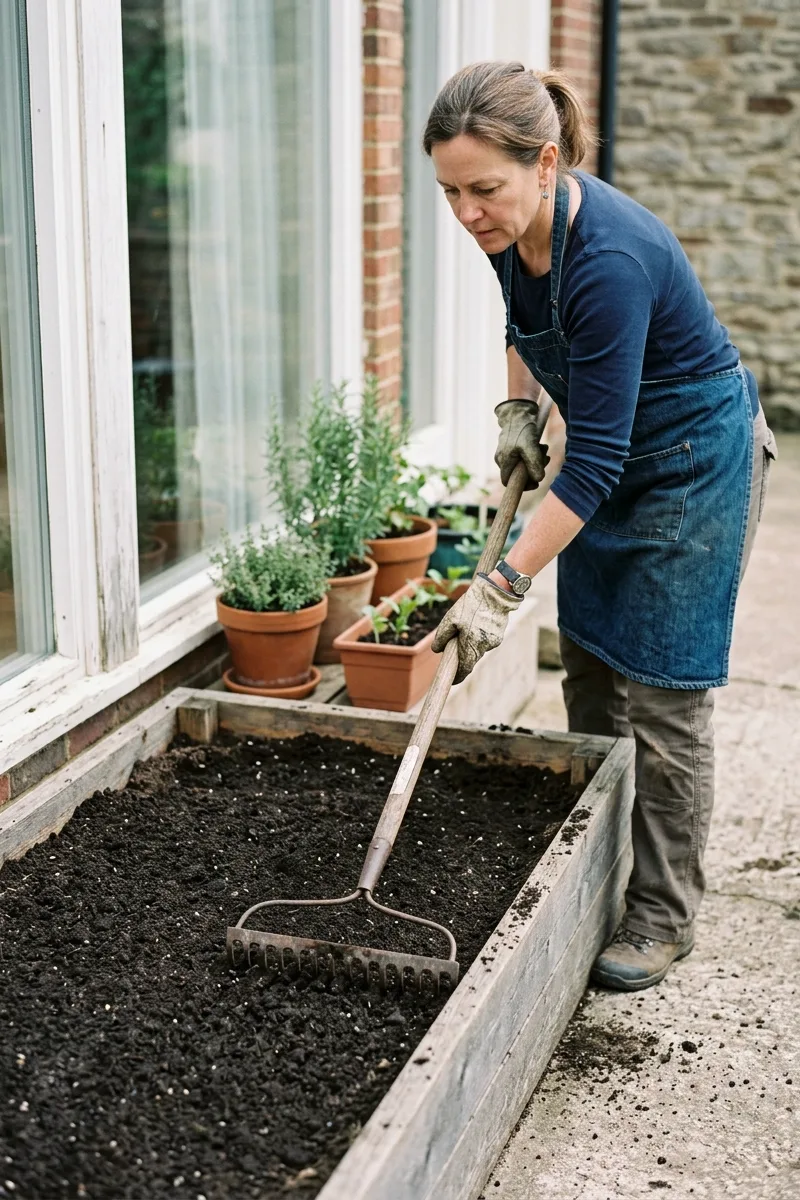
Use a level to ensure your raised bed is sitting evenly on the concrete. Use a rake to smooth out the soil surface. An even surface will prevent water from pooling in one spot. It also makes it easier to plant your seeds or seedlings in neat rows.
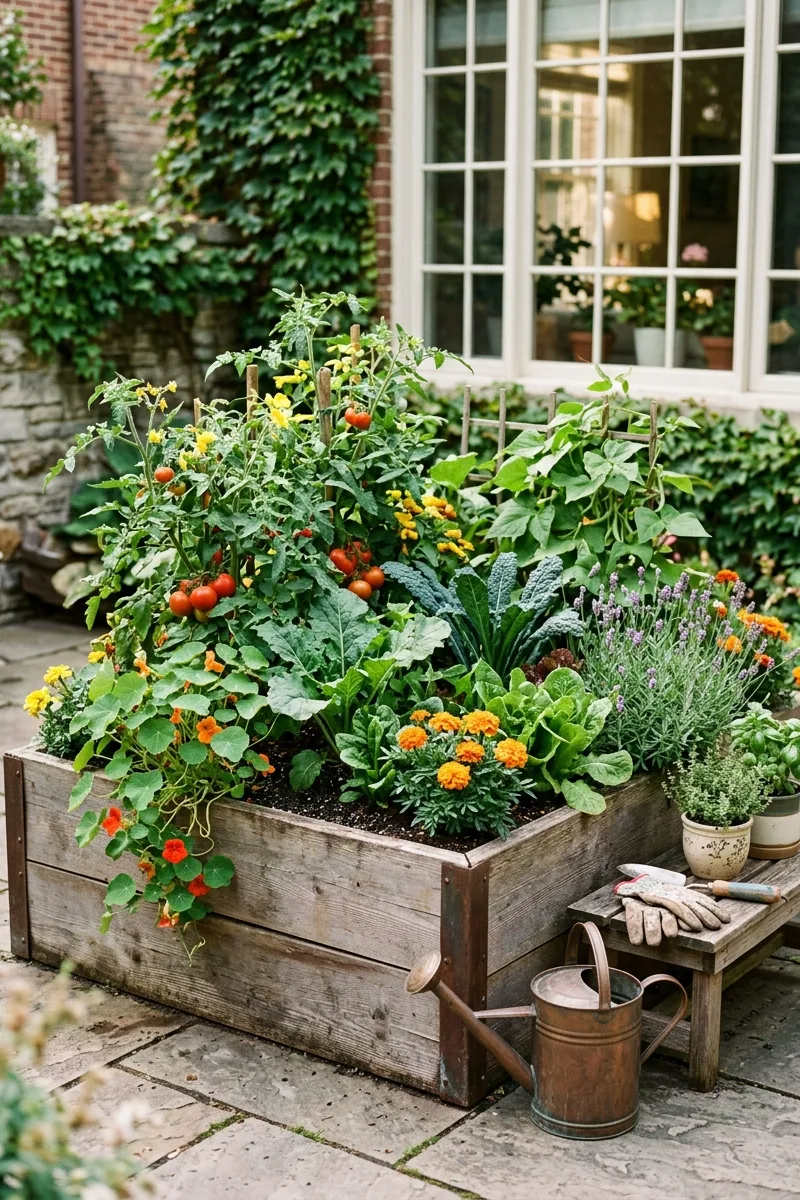
Choose Your Plants
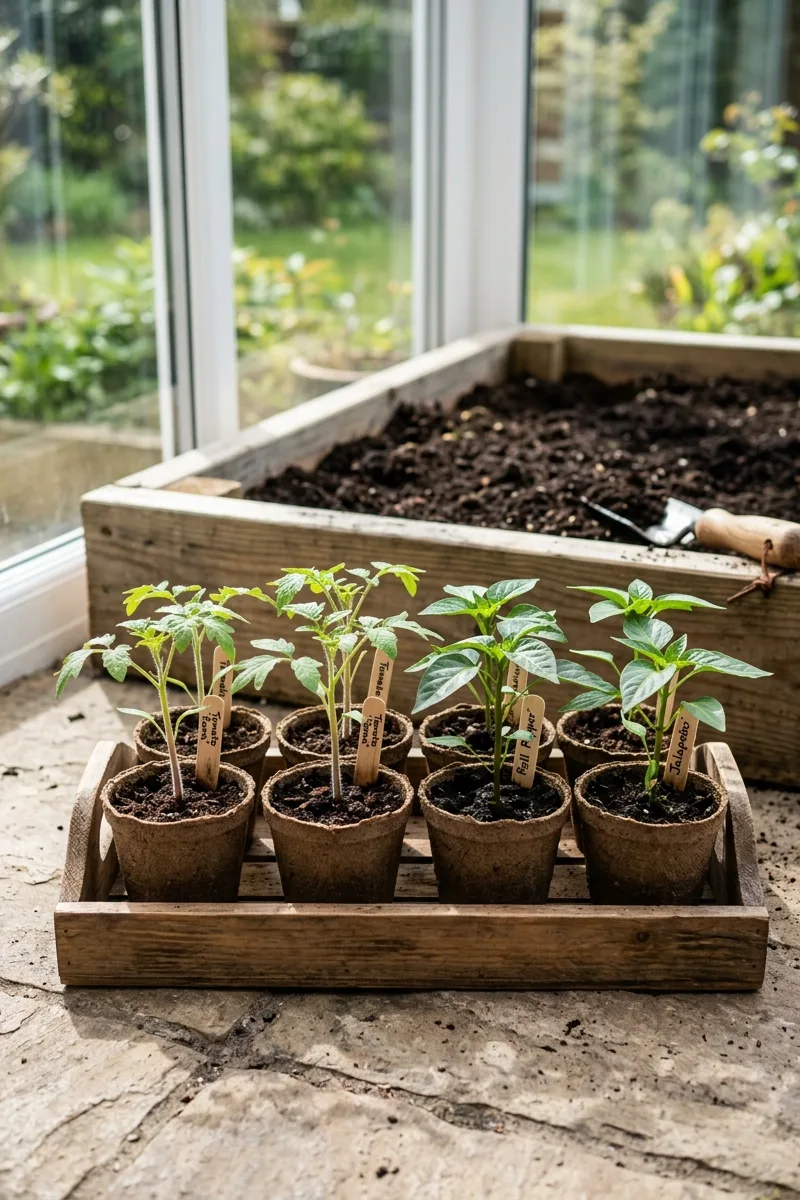
Now comes the fun part: choosing your plants. Vegetables like tomatoes, peppers, lettuce, and herbs are perfect for raised beds. Pick a variety that you and your family love to eat. Consider the size of your bed and choose plants that are suitable for your space.
Planting Your Seedlings
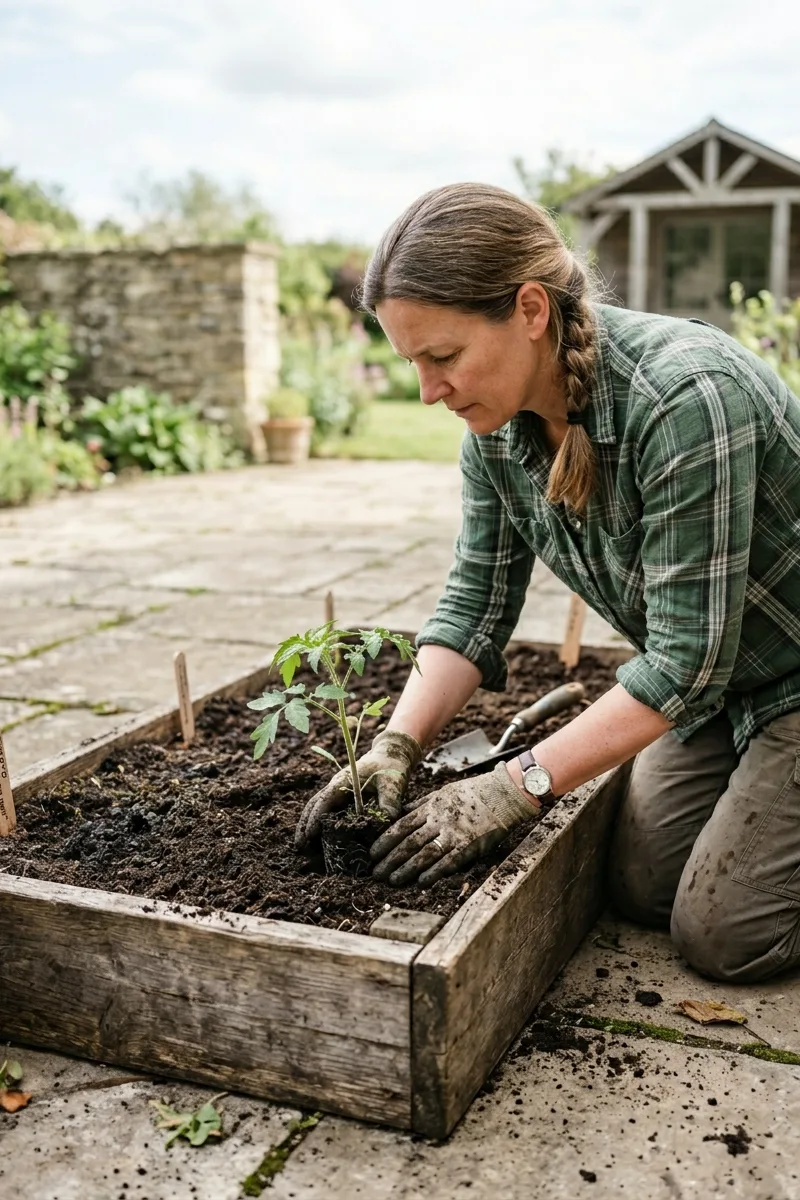
Dig a hole slightly larger than the root ball of your seedling. Gently place the plant in the hole, ensuring it is at the same depth it was in its pot. Backfill with soil and press down gently to secure the plant. Water thoroughly right after planting to help it settle in.
Water Immediately and Deeply
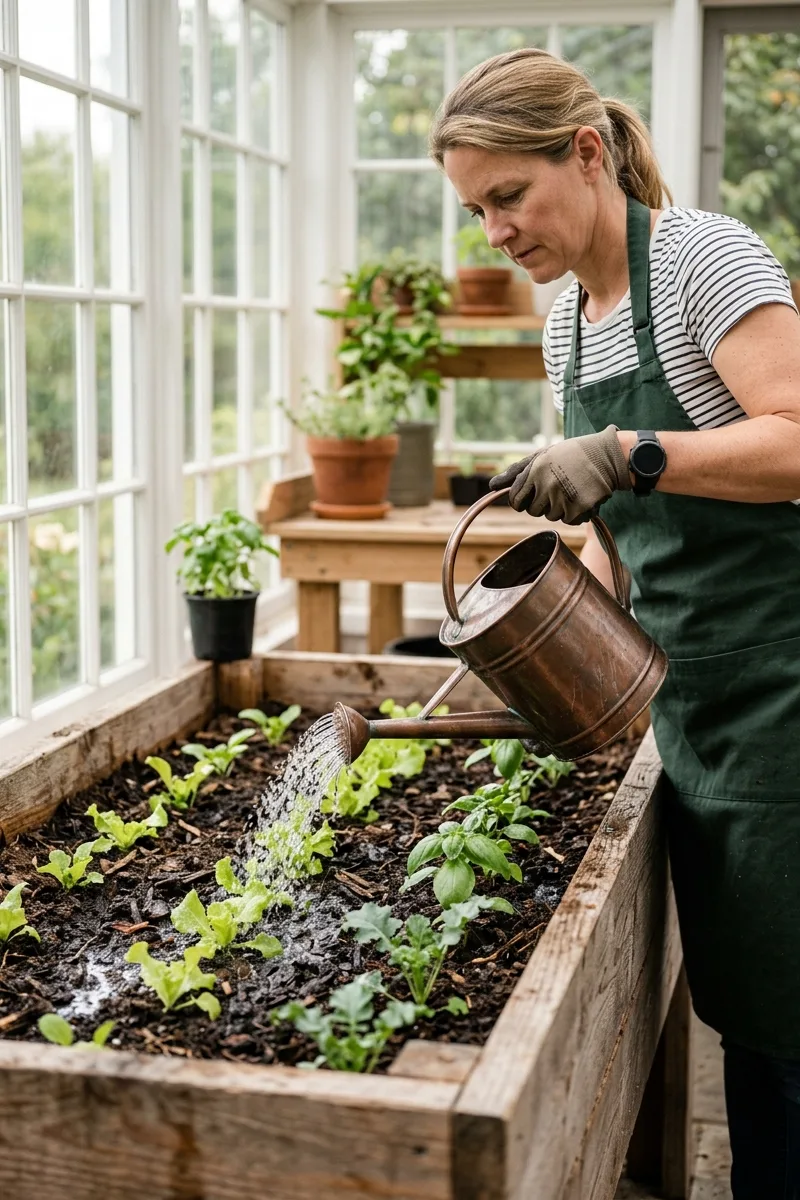
After planting, give your new plants a deep and thorough watering. This helps to settle the soil around the roots and eliminates any air pockets. Watering deeply encourages the roots to grow deep into the soil, creating a stronger and more resilient plant.
Add a Trellis for Vertical Growth
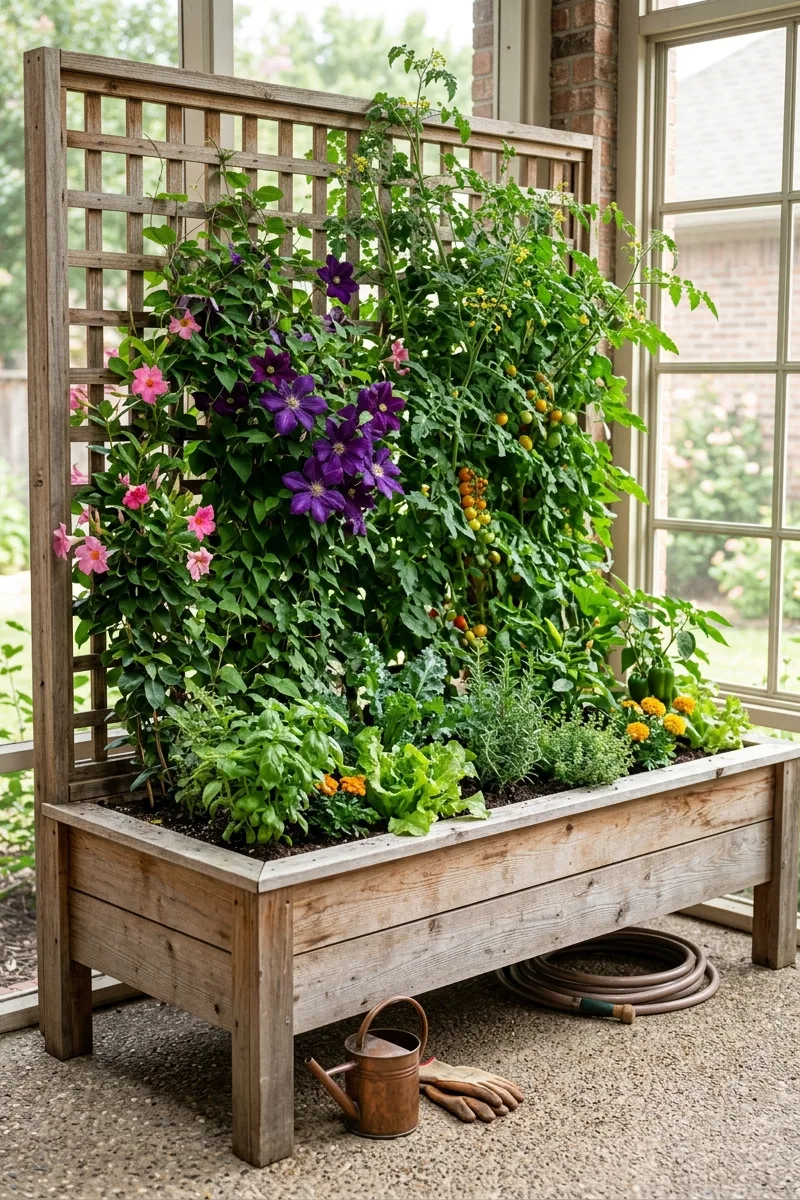
To maximize your yield in a small space, consider adding a trellis to the back of your raised bed. This is perfect for climbing plants like beans, peas, and cucumbers. A trellis will allow you to grow more in a small footprint and adds a beautiful vertical element.
Monitor and Enjoy Your Garden
Your raised bed garden is now complete. Water regularly, especially during dry spells, and keep an eye out for pests. Add a layer of mulch to retain moisture and suppress weeds. The best part is enjoying the fresh, delicious vegetables you’ve grown with your own hands.
Protect from Pests with Netting
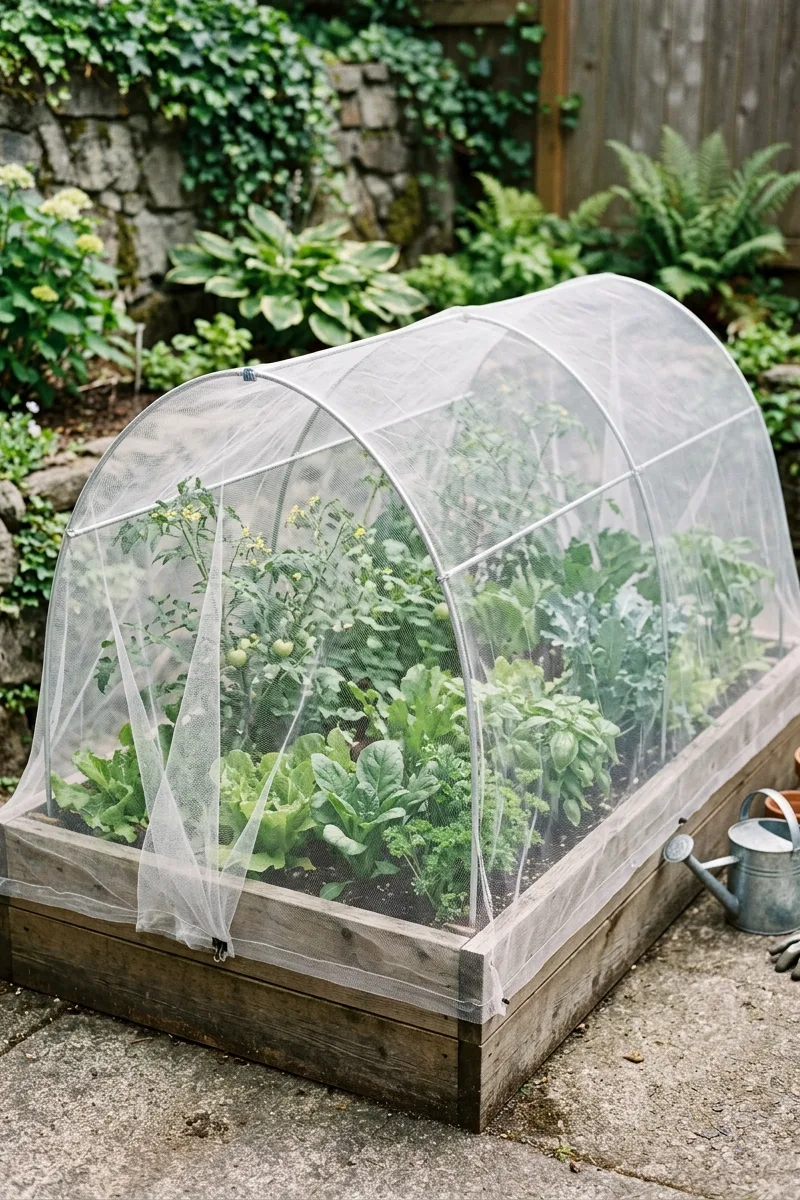
Protect your new garden from pests by using a fine insect netting. This is especially important for young plants. Netting is an effective, chemical-free way to keep out aphids, caterpillars, and other hungry bugs.
Inspiration gallery recap
Tap any image to open the slideshow — use arrows or swipe to browse.